|
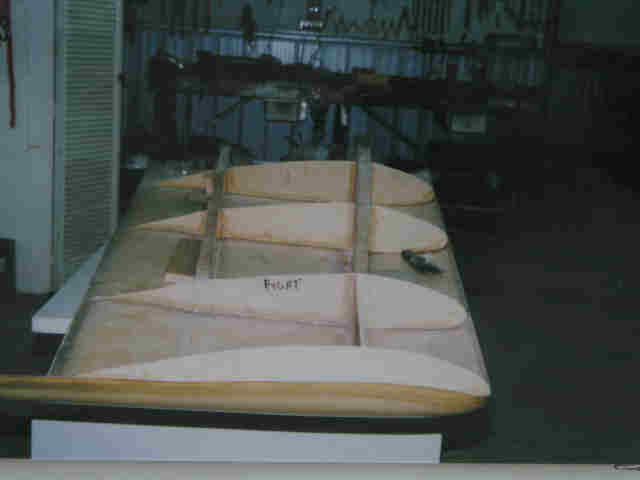
The wings were complete without the top skin when I got the KR, But needed much work
I found the Right wing measured 1 inch MORE from the main spar to the leading edge than the Left wing. Problem, How do I now remove the lower wing skins and ribs without damaging the spar or the Skin?
|
|
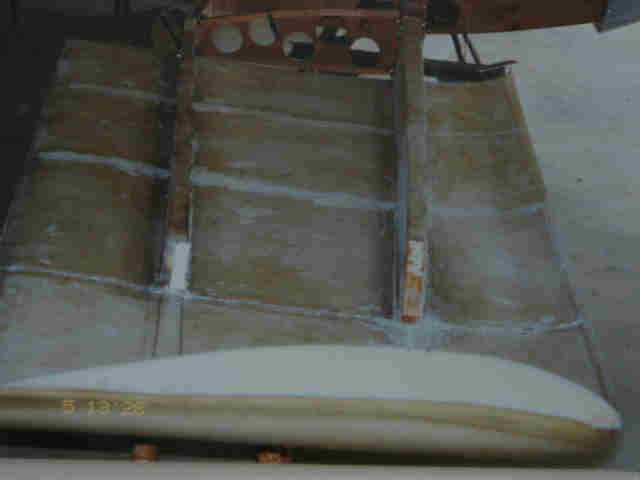
CLICK to Enlarge Photo : The Spar was also twisted and warped backward.
Another picture from Southern Utah and Colorado
|
Right: You can see the twist in the spar and I have removed the ribs
I used a 2 inch metal putty trowl & hammer. very gently I broke the glass around the rib and spar. |
|
|
|
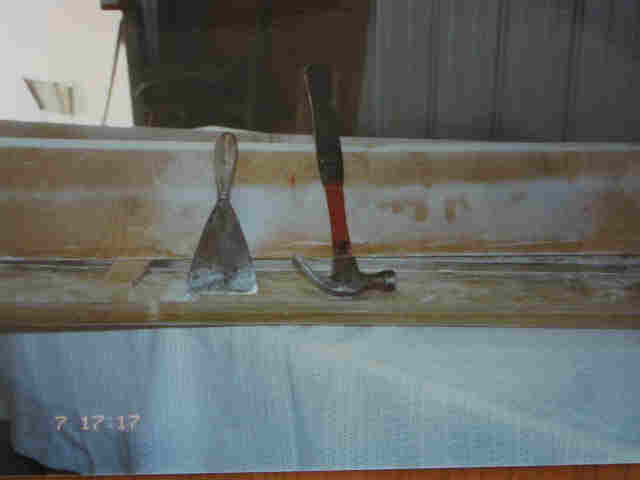
Left: You can see the tools I used,
If you look closly to the left of the trowl, you can see a wood block under the spar, as I work along both sides of the spar.I worked the trowl under the spar between the spar ands the skin.
|
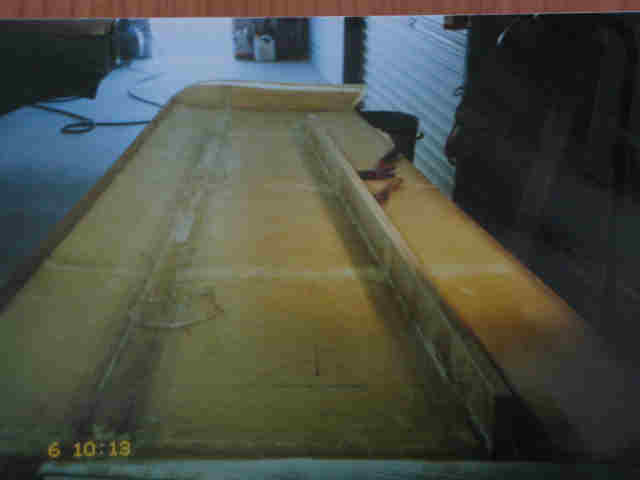
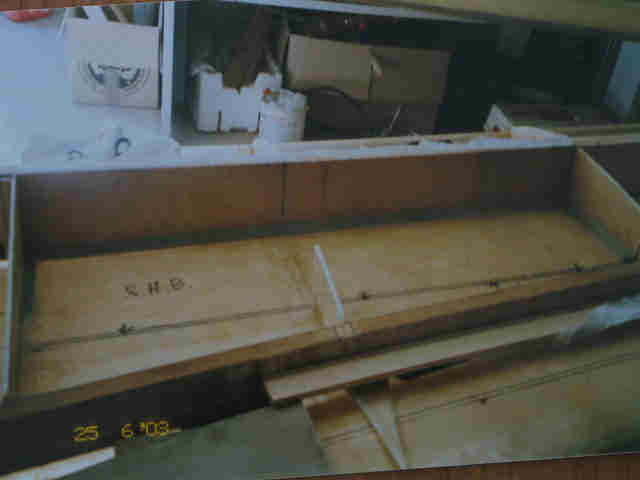
Right: The Main Spar now removed.
I sanded all the excess glass off the spar area and around skin. I removed the rear spar the same way. Then I placed 2 layers og 5 oz cloth the area, with Vynal Estar resin. |
|
|
|
Left: Here is the Wing Tank Construction.
The tank starts just outside the WAF, & back 12 inches, then out to the 2nd rib. It hold 20 litures ( 8 1/2 US gallons ???). NOTE I had a fuel teak from around the top seal after fitting the top wing skin. I finally repaired it by mixing a runny mix of Vynal Ester resin and Cotton flox. I inverted the wing and using a 50ml ( 50 cc) syring and plastic tube, I pumped the flox mix in through the filler hole to along one side of the tank. I tilted the tank in such a way the flox ran along the join in the top of the tank. When dry, I did the other 3 sides the same way. Worked Great. |
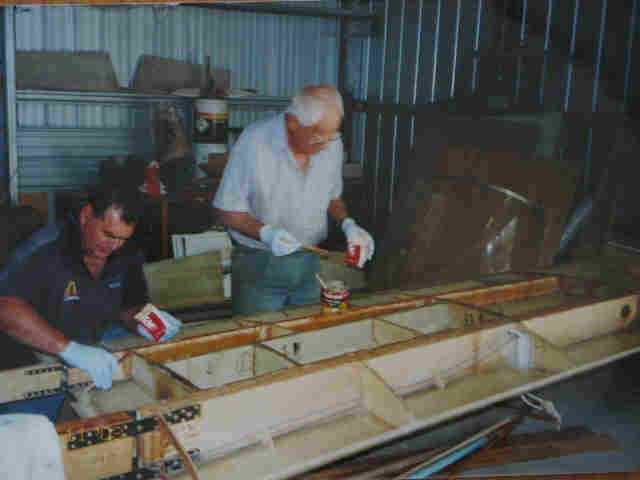
RIGHT: Fitting the wing skins to the spars
With the help of my Dad, Henry and mate Brad, we floxed all the areas, ribs, spars and fuel tank sides. You can see the baffels in the fuel tanks. We installed the skins as per Dan Diehl instructions. see below. http://www.diehlaero.com/ |
|
|
|
Left: Both Wing skins in place
The lower skins were fitted first, then after a few days the top skins were fitted. Here the top skins are held in place br Cambell Clamps. There is a lot to get done , so you MUST have help.
|
RIGHT: Large 12 inch Flap
The small flap on the KR is said to be inaffective, so I wanted more area. I looked over the plans and came up with this idea.     
|
|
|
|
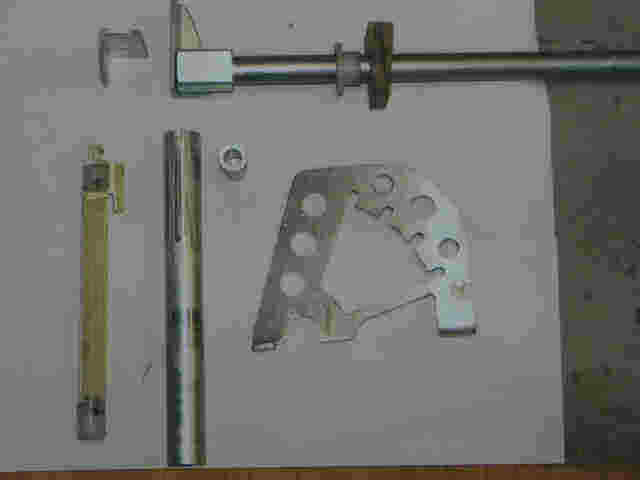
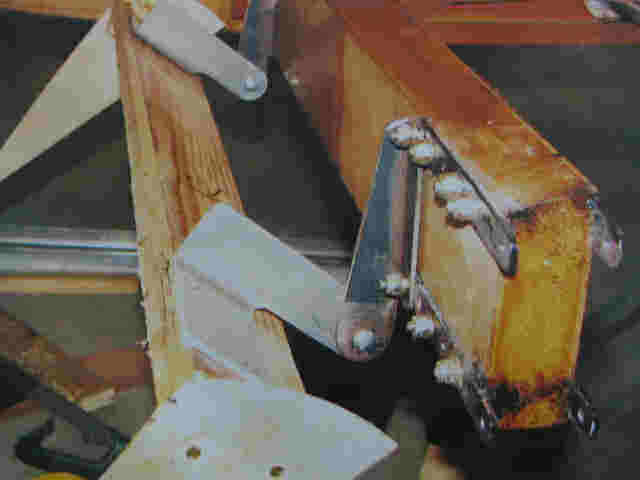
LEFT: Modified Flap Bracket
These brackets are very similar to the plans, but attach to the WAF instead of th aileron lower bracket. I extended the hinge pivot below the skin, so if I wanted to add a belly board, I had the possibility of joining that belly board to the flap, similar to the Midget Mustang. |
Right: Flap Handle
Again I keep thid very similar to the plans, but used a T6 torque tube, and extended it just outside the inner wing rib.It is attached under the seats and through ply brackets on the fuse sides and one in the centre of the fuse. |
|
|
|
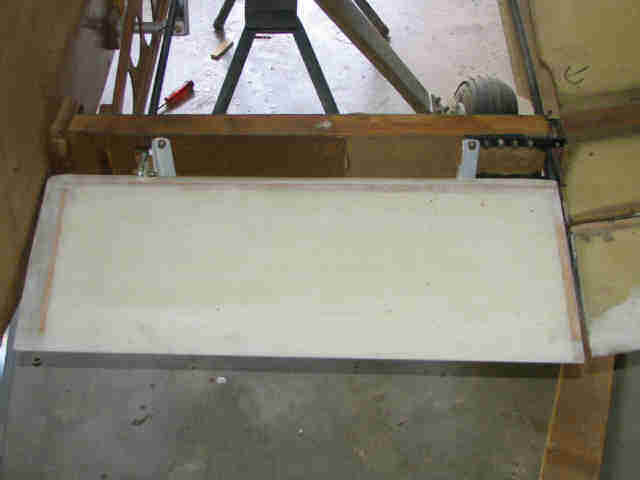
LEFT: Flap sitting in up position
If you look at the top left of the photo, you will see Torque and push rod are located. |
RIGHT:Side on view of the flap hinge in down position.
|
|
|
|
|
|
|