|
This is how I made my R side wing Gap seal. Click to enlarge Photo, Hit BACK to return. Firstly I had to cover the gap to allow for glassing, I used duct tape across the gap, ( not along the gap) to stop the tap from sinking into the gap to keep the cover flat. Then I protected the area with plastic and tape. Then used 2 inch tape and glassed 3 inches wide and overlaped in the middle for extra support. With two layers done I ran one layer over the middle. Then cut a 4 inch wide strip from a roll and glassed over the lot. All done while wet, so it can dry as one unit. I then ran some Flox over it all to cover pin holes and bumps. When dry, I sanded it the best I could before romovial from the wing. Onced removed I sanded the edges straight and to the width I wanted. Walla, Done, Now I will decide wheather to screw it inplace or put some springs to hold it down. |
|
|
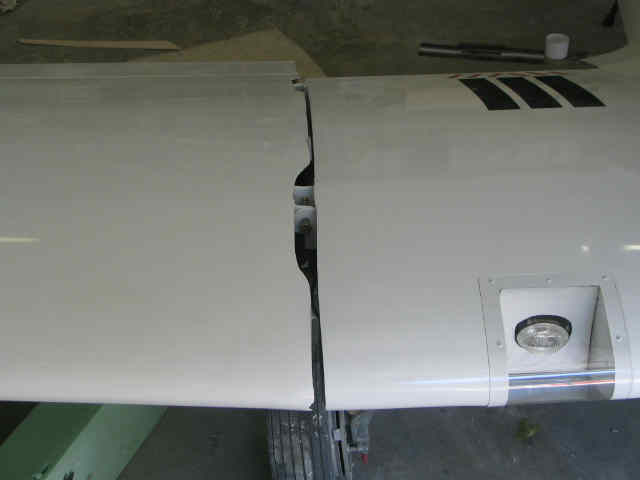
Right: This is the gap before I started. Click to enlarge, Back to return
I tried to keep the gap to as small as possible |
 |
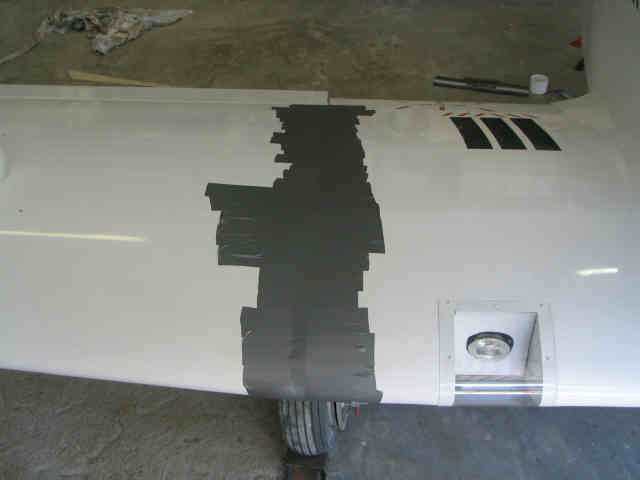
| Duct Tape in place You can see the tape ACROSS the gap, this sits reasonbly flat for a good service to glass. |
 |
|
Right: You can see the tape across the gap,
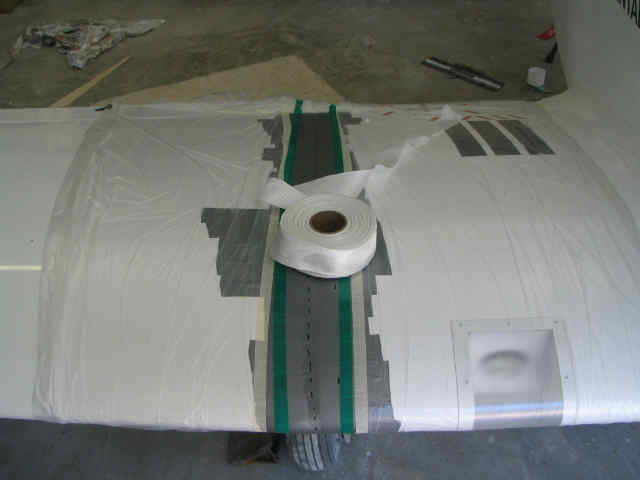
The plastic on both sides to protect the pain. The roll of tape ready to use. |
 |
|
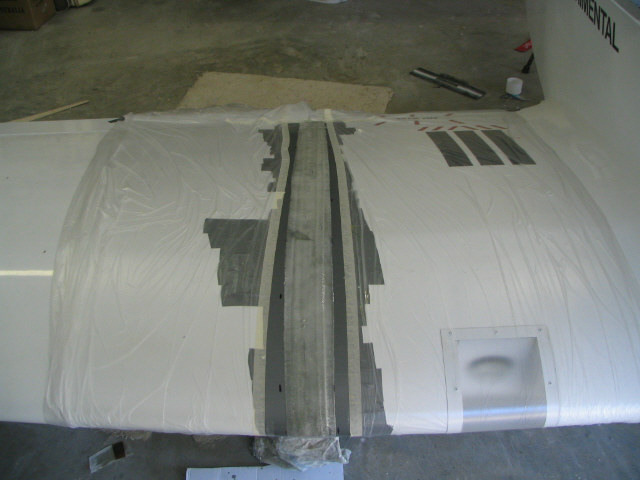
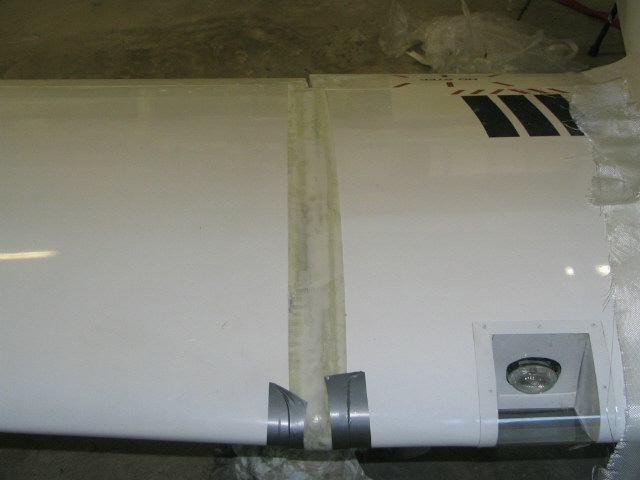
Glassing Finished, all took only an hour or so.
This shot has the 4 inch cut of cloth in place, it has rough edges because it was cut with sisors. I then put some flox over the lot, and when dry, sanded it down in place |
 |
|
The finished product
I hace sanded the edges on my belt sander, and given it another light sand. It will need some minor filling and sanding, it is feld in place with a bit of duct tape at the L/E. I'm thinking of adding some hooks on the bottom and just hold it inplace with some springs pulling against the L/E, with two screws at the T/E. and or 3 screws top and bottom. |
 |
|
|
|
|
;    |
|